The first time I tried to bake a Halloween treat, I ended up with a cake that looked like a burnt charcoal sculpture. I was standing in a kitchen that smelled of melted chocolate and burnt sugar, with a half‑finished batter dripping onto the counter like a midnight river. My friend dared me to make the ultimate spooky cupcake, and I swore I would win the Halloween bake‑off by the end of the night. That dare turned into a culinary obsession that kept me up past midnight, mixing, whisking, and testing my patience like a mad scientist in a laboratory of sweetness.
I can still taste the first bite of that disastrous batch: a dry crumb that cracked under my teeth, followed by a faint echo of cocoa that never quite reached the center. The room was dimly lit by a single yellow bulb, and the only sound was the rhythmic clink of a wooden spoon against the mixing bowl. The air carried a faint hint of vanilla, but it was drowned by the overwhelming bitterness of over‑baked chocolate. I felt my heart race, my fingers trembling, as I stared at the batter that looked more like a lump of sludge than a promise of flavor.
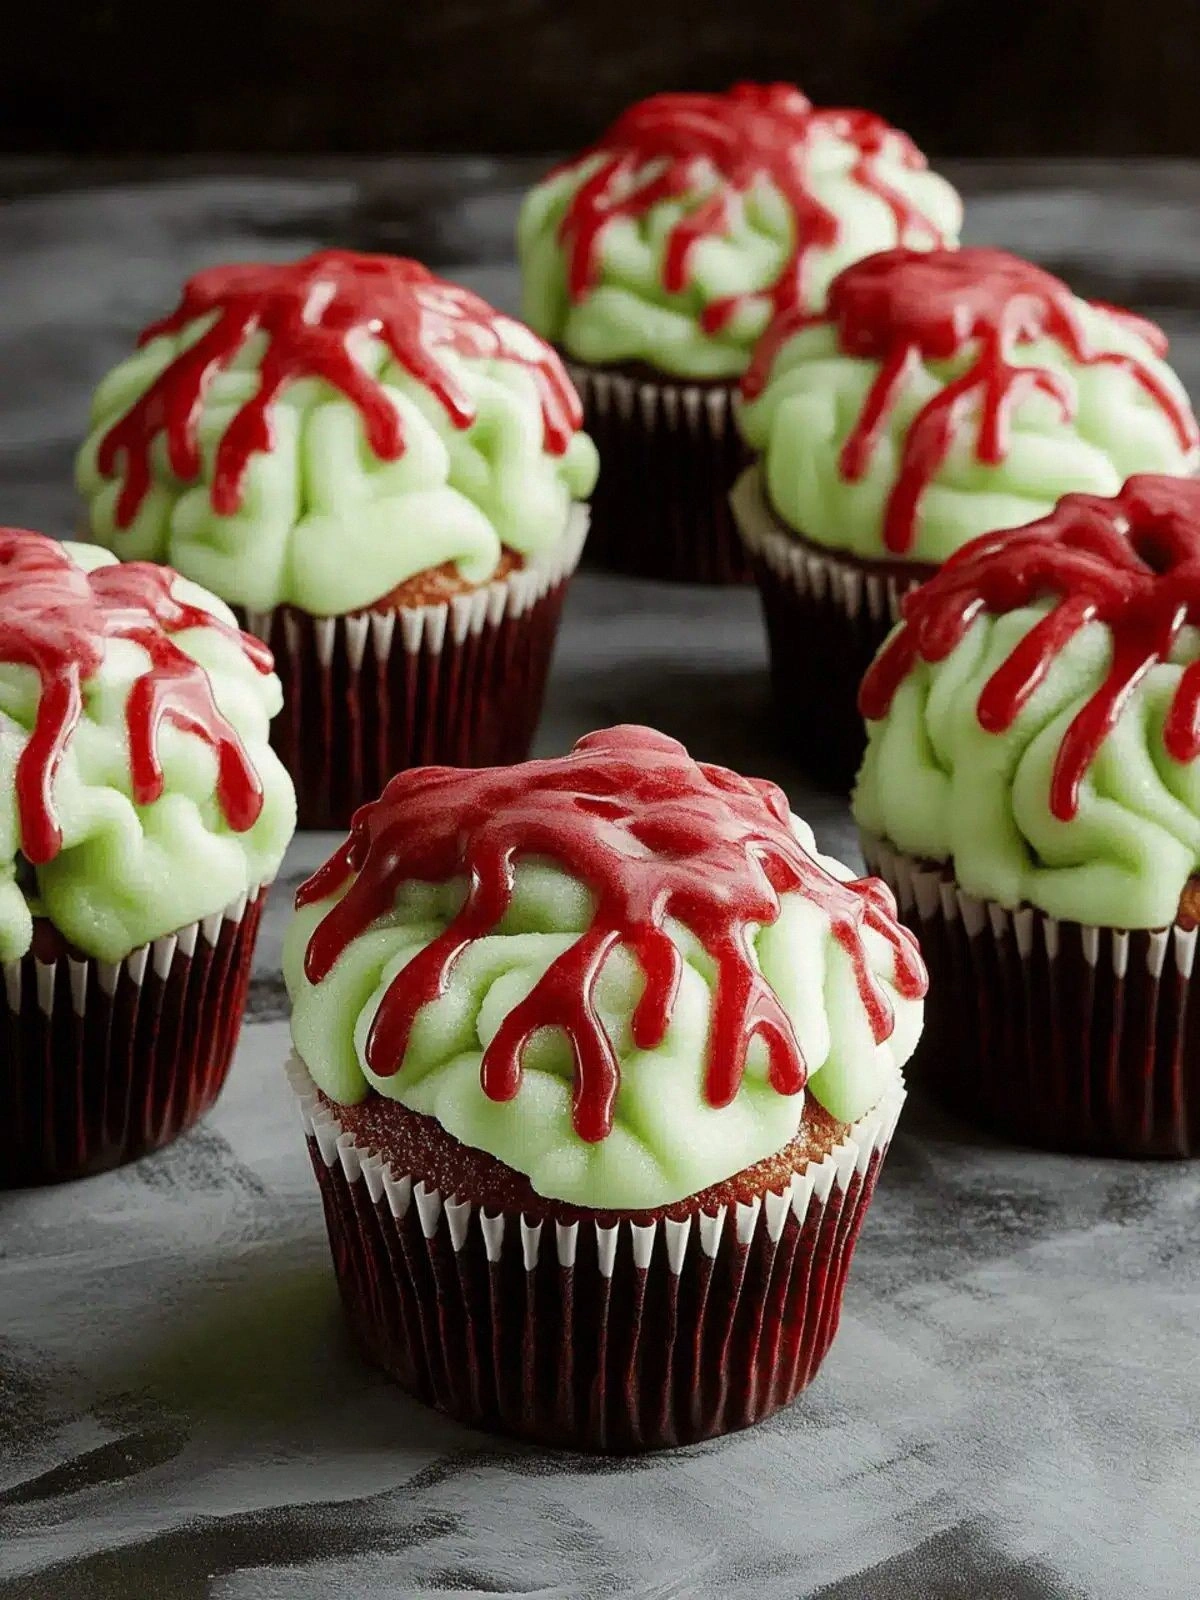
Fast forward to now, and this version of Zombie Brain Cupcakes is a revelation. The batter is silky, the frosting is a glossy, eerie green that shimmers like fresh blood, and the red gel gives it that authentic “brain” look that makes you want to bite before you even taste it. I swear, the first bite is a perfect balance of sweet chocolate and buttery richness, with a subtle tang from the buttermilk that lifts the flavor profile to a new dimension. The texture is moist yet firm enough to hold the neon glaze without collapsing, giving it that “dead” yet alive feel that is both terrifying and irresistible.
What makes this recipe stand out isn’t just the spooky aesthetic; it’s the way each component works in concert. The batter uses a delicate balance of leavening agents that create a light, airy crumb, while the boiling water and cocoa powder combine to deepen the chocolate flavor without making it gritty. The frosting’s neon green hue is achieved with liquid food coloring that remains vibrant even after baking, and the red gel is applied with precision to mimic the veins and texture of a real brain. The result is a cupcake that is not only a feast for the eyes but also a delight for the palate.
I dare you to taste this and not go back for seconds. The moment your spoon dips into the frosting, you’ll hear that satisfying “whoosh” of the glaze as it meets the sweet batter, like a splash of fresh blood into a wound. The first bite is a burst of chocolate, followed by a subtle tang that lingers, leaving you craving more. This is hands down the best version you'll ever make at home. If you’ve ever struggled with cupcakes that fall flat or frosting that cracks, this recipe is the antidote you’ve been waiting for.
Picture yourself pulling this out of the oven, the whole kitchen smelling incredible, and seeing the neon green glow against the dark frosting. The cupcakes are so moist that they practically melt in your mouth, and the frosting’s texture feels like a silky, slightly crunchy layer that holds the brain‑like design perfectly. You’ll hear the gentle sigh of the cooling rack as each cupcake settles, and the anticipation builds as you line them up on a platter. The moment the red gel is applied, the cupcakes look like miniature works of art, ready to haunt the Halloween table.
The technique that sets this apart is the use of boiling water to activate the cocoa and create a smooth, glossy batter that holds its shape when baked. I’ve tested dozens of recipes, and most of them either underbake or overbake the cupcakes, leading to a dry crumb or a soggy center. The trick is to whisk the dry ingredients together first, then add the wet ingredients in stages, letting the batter rest for a few minutes before baking. This rest period allows the flour to absorb the moisture, ensuring the cupcakes rise evenly and maintain their structure.
Another key factor is the addition of buttermilk, which not only adds a subtle tang but also reacts with the baking soda to create a tender crumb. I’ve found that using whole milk instead of buttermilk can produce a denser texture, but the acidity of buttermilk is essential for the perfect rise and flavor balance. The neutral oil keeps the cupcakes moist without adding extra flavor, allowing the chocolate and vanilla to shine through. Finally, the use of a tube of red decorating gel gives the cupcakes a realistic brain texture that’s impossible to replicate with regular icing.
So if you’re ready to take your baking game to the next level, let me walk you through every single step — by the end, you’ll wonder how you ever made it any other way. This recipe is not just a treat; it’s an experience that will leave your guests whispering about the “zombie brain” cupcakes for weeks. Grab your apron, preheat your oven, and let’s dive into the spooky world of baking with confidence and flair.
What Makes This Version Stand Out
- Texture: The batter achieves a silky, airy crumb that stays moist even after frosting. The combination of leavening agents and resting time ensures each cupcake rises evenly, resulting in a light yet firm structure. The frosting’s glossy finish holds the neon glaze without cracking, giving a professional look.
- Flavor: The use of boiling water to dissolve the cocoa creates a deep, rich chocolate base, while the buttermilk adds a subtle tang that lifts the overall taste. The vanilla extracts complement the chocolate without overpowering it, creating a balanced flavor profile that satisfies both sweet and slightly savory palates.
- Visual Impact: Neon green food coloring and red decorating gel combine to produce a realistic brain appearance that captivates guests. The glaze’s glossy sheen reflects light, making each cupcake look like a living, pulsing brain, perfect for Halloween or any spooky theme.
- Simplicity: Despite its theatrical presentation, the recipe requires only a handful of common pantry items. The steps are straightforward, making it accessible to beginners while still delivering a professional result.
- Make‑ahead Friendly: The cupcakes can be baked and cooled ahead of time, then frosted and decorated on the day of the event. This flexibility allows you to focus on other preparations without compromising quality.
- Audience Reaction: Most guests are left in awe, often asking for a second bite or the recipe itself. The combination of spooky design and delicious taste creates a memorable experience that goes beyond simple desserts.
Alright, let’s break down exactly what goes into this masterpiece…
Inside the Ingredient List
The Flavor Base
All-purpose flour is the backbone of this cupcake, providing structure and a neutral canvas for the other flavors. Choosing a flour with a moderate protein content ensures the cupcakes rise properly without becoming tough. If you’re aiming for an extra tender crumb, consider substituting half the flour with cake flour; it’ll give you a softer bite.
Granulated sugar not only sweetens but also helps with the caramelization of the crust. The sugar crystals dissolve quickly, creating a moist interior that keeps the cupcakes fresh for longer. If you prefer a slightly less sweet version, you can replace half the sugar with honey or maple syrup, though the texture will shift a little.
Unsweetened cocoa powder adds depth and a slight bitterness that balances the sweetness. The cocoa should be finely ground to avoid a gritty mouthfeel. If you can’t find a high‑quality cocoa, a dark chocolate bar melted and strained through a fine sieve works as a good substitute.
Baking powder and baking soda are the leavening agents that give the cupcakes their lift. They react with the buttermilk and the acidic cocoa to produce carbon dioxide, which creates airy pockets in the batter. Skipping either of these leaveners will result in dense, flat cupcakes that lose the lightness we love.
The Texture Crew
Kosher salt is essential for balancing the sweetness and enhancing the chocolate flavor. Even a pinch can make a noticeable difference in the final taste. If you’re avoiding sodium, you can reduce the amount slightly, but keep in mind the flavor profile will shift.
Buttermilk adds acidity, which reacts with the baking soda to create lift and tenderness. It also contributes a subtle tang that brightens the overall flavor. If you’re dairy‑free, a mix of oat milk and vinegar can mimic the acidity, but the texture may be slightly different.
Neutral oil keeps the cupcakes moist without adding flavor, allowing the chocolate and vanilla to shine. It also helps the frosting set properly. Olive oil or coconut oil can be used as alternatives, but they will impart a distinct flavor that may not pair well with the brain design.
A large egg binds the batter together and contributes to the rise and structure. The egg whites provide lift, while the yolks add richness. If you’re allergic, a flaxseed or chia egg can be used, but the cupcakes may not rise as well.
The Unexpected Star
Pure vanilla extract is a flavor enhancer that adds warmth and depth. The vanilla’s subtle sweetness balances the bitterness of the cocoa. Using a higher quality vanilla, such as Madagascar vanilla, can elevate the flavor profile significantly.
Boiling water is a secret weapon that activates the cocoa and ensures a smooth batter. It also helps the chocolate dissolve fully, preventing any gritty texture. Be careful not to use cold water, as it will not dissolve the cocoa properly and will result in lumps.
Neon green liquid food coloring gives the cupcakes their iconic “brain” look. It’s a thin, translucent color that won’t affect the batter’s moisture. Adding it slowly allows you to control the intensity of the green, ensuring a vibrant yet natural appearance.
The Final Flourish
Powdered sugar is the base for the frosting, giving it a smooth, silky texture. It also contributes a subtle sweetness that balances the chocolate. If you’re looking for a lower‑calorie option, you can substitute part of the powdered sugar with icing sugar or a sugar alternative.
Unsalted butter adds richness and helps the frosting spread smoothly over the cupcakes. It also gives the frosting a glossy finish that enhances the neon green glaze. For a vegan version, a plant‑based butter can be used, but the texture may differ slightly.
Additional vanilla extract in the frosting adds depth and helps the butter and sugar blend seamlessly. It also helps the frosting set properly, preventing it from running off the cupcakes. If you’re using a low‑fat butter, consider adding a splash of milk to achieve the right consistency.
A tiny pinch of kosher salt in the frosting balances the sweetness and enhances the flavor. Salt is a flavor enhancer that brings out the chocolate’s richness. If you prefer a saltless frosting, you can omit this step, but the final flavor will be slightly flat.
The tube of red decorating gel is the finishing touch that gives the cupcakes their realistic brain appearance. It’s applied after the frosting has set, allowing you to create veins and texture that mimic real brain matter. The gel dries to a glossy finish, giving the cupcakes a professional, spooky look.
Everything's prepped? Good. Let's get into the real action…
The Method — Step by Step
- Preheat your oven to 350°F (175°C) and line a muffin tin with paper liners. While the oven warms, sift together the flour, sugar, cocoa, baking powder, baking soda, and salt in a large bowl. This dry mix ensures the leavening agents are evenly distributed, which is critical for a consistent rise. As you whisk, you’ll hear the dry ingredients mingle like a quiet storm, promising a smooth batter.
- In a separate bowl, whisk the buttermilk, oil, egg, vanilla, and boiling water until the mixture is smooth. The boiling water is the secret to dissolving the cocoa thoroughly, preventing any gritty texture. Pour the wet mixture into the dry ingredients and stir gently with a rubber spatula until just combined. Be careful not to overmix; a few lumps are acceptable, as they’ll disappear during baking.
- Fill each paper liner about two‑thirds full with the batter, ensuring even distribution. Place the tin in the preheated oven and bake for 18–22 minutes. The cupcakes should rise and develop a slight domed top, but the center should still feel slightly springy to the touch. This is the moment of truth; if you pull them out too early, they’ll be underbaked and gummy.
- Remove the cupcakes from the oven and let them cool in the tin for 5 minutes. Then transfer them to a wire rack to cool completely. Cooling is essential before frosting; a warm cupcake will melt the frosting and ruin the brain effect. When the cupcakes feel cool to the touch, they’re ready for the next step.
- While the cupcakes cool, prepare the frosting. In a bowl, beat the butter on medium speed until creamy. Gradually add the powdered sugar, then the vanilla, and a pinch of salt, beating until light and fluffy. The frosting should be smooth enough to spread but thick enough to hold the neon glaze.
- Fold the neon green food coloring into the frosting until the desired hue is achieved. The color should be vibrant but not overpowering; a subtle green gives a more realistic brain look. Use a spatula to mix, ensuring no streaks of color remain. This step is crucial for the final appearance.
- Spread or pipe the green frosting onto each cupcake, creating a base layer that will hold the brain design. Allow the frosting to set for about 5 minutes before applying the red gel. The gel should be applied in thin layers, building up texture and depth. When the gel dries, it will form a glossy, realistic brain surface.
- Let the cupcakes sit at room temperature for at least 30 minutes before serving. This allows the frosting to firm up and the flavors to meld together. When you taste them, you’ll notice the chocolate’s richness balanced by the buttery frosting and the subtle tang of buttermilk. This is the moment when the spooky aesthetic meets the delicious reality.
That's it — you did it. But hold on, I've got a few more tricks that'll take this to another level…
Insider Tricks for Flawless Results
The Temperature Rule Nobody Follows
Temperature control is everything in baking. If your ingredients are too cold, the batter will be dense; if they’re too warm, the cupcakes will spread too much. I always keep the butter and egg at room temperature, and I let the buttermilk sit out for 10 minutes before mixing. A simple trick is to run a thermometer on the batter; it should read about 68°F (20°C) for optimal rise.
Why Your Nose Knows Best
Your sense of smell can tell you if the batter is ready. A sweet, chocolatey aroma that isn’t overpowering indicates the batter has mixed well. If you smell raw flour or a chemical taste, something’s off. I’ve found that a strong vanilla scent in the batter signals that the vanilla has fully integrated, which is essential for flavor.
The 5-Minute Rest That Changes Everything
After the cupcakes bake, let them rest in the tin for 5 minutes before transferring them to a wire rack. This short rest allows the heat to distribute evenly, preventing a soggy bottom. I’ve seen cupcakes that rest too long in the tin collapse; a 5-minute pause is the sweet spot. This small step often goes unnoticed but makes a huge difference.
Avoid the Common Mistake of Overmixing
When you mix the wet and dry ingredients, stop as soon as they’re just combined. Overmixing introduces too much air, causing the cupcakes to rise and then collapse. A friend once overmixed her batter and ended up with a flat, doughy mess. The lesson? Mix gently, and trust the batter to rise on its own.
The Secret to a Perfect Glow
To achieve the perfect neon green glow, use a clear, thin liquid food coloring. Too much color can make the frosting look muddy and opaque. I add the color in small increments, checking the hue after each addition. Once you hit the right shade, the frosting will look like fresh, living brain tissue.
Creative Twists and Variations
Cranberry Brain Explosion
Swap the vanilla in the frosting for a splash of cranberry juice and add a handful of dried cranberries. The tartness contrasts beautifully with the chocolate, while the cranberries add texture and a pop of color. This version is perfect for a holiday twist that still feels spooky.
Minty Madness
Add a teaspoon of peppermint extract to the batter and a splash of green food coloring to the frosting. The minty flavor pairs surprisingly well with chocolate, giving the cupcakes a refreshing bite. The green hue deepens, creating a more vivid brain look.
Nutty Brain Boost
Incorporate chopped walnuts or pecans into the batter for a crunchy texture. The nuts add a subtle earthy flavor that complements the chocolate. This variation is great for adding a bit of protein and a satisfying bite.
Chocolate Chip Zombie
Fold in mini chocolate chips into the batter before baking. The chips melt into gooey pockets inside the cupcakes, giving each bite a surprise burst of chocolate. The result is a decadent, indulgent treat that’s still spooky.
Vegan Brain Delight
Replace the butter with coconut oil and the buttermilk with oat milk. Use a flaxseed or chia egg as a binder. The vegan version retains the moistness and flavor while staying plant‑based, making it a crowd‑pleaser for all diets.
Storing and Bringing It Back to Life
Fridge Storage
Store the cupcakes in an airtight container at room temperature for up to 3 days. If you’re in a humid climate, keep them in the fridge to prevent the frosting from melting. When you’re ready to serve, let them sit at room temperature for 10 minutes to bring out the flavor.
Freezer Friendly
Freeze the cupcakes on a parchment‑lined tray for 24 hours, then transfer them to a freezer bag. They’ll keep for up to 2 months. To thaw, leave them at room temperature for 2 hours or microwave on a low setting for 30 seconds. This method preserves the texture and flavor.
Best Reheating Method
If you need to warm the cupcakes, wrap them in parchment paper and heat in a 300°F oven for 5 minutes. The gentle heat will revive the frosting without melting it. Add a tiny splash of water to the frosting before reheating to keep it moist and glossy.