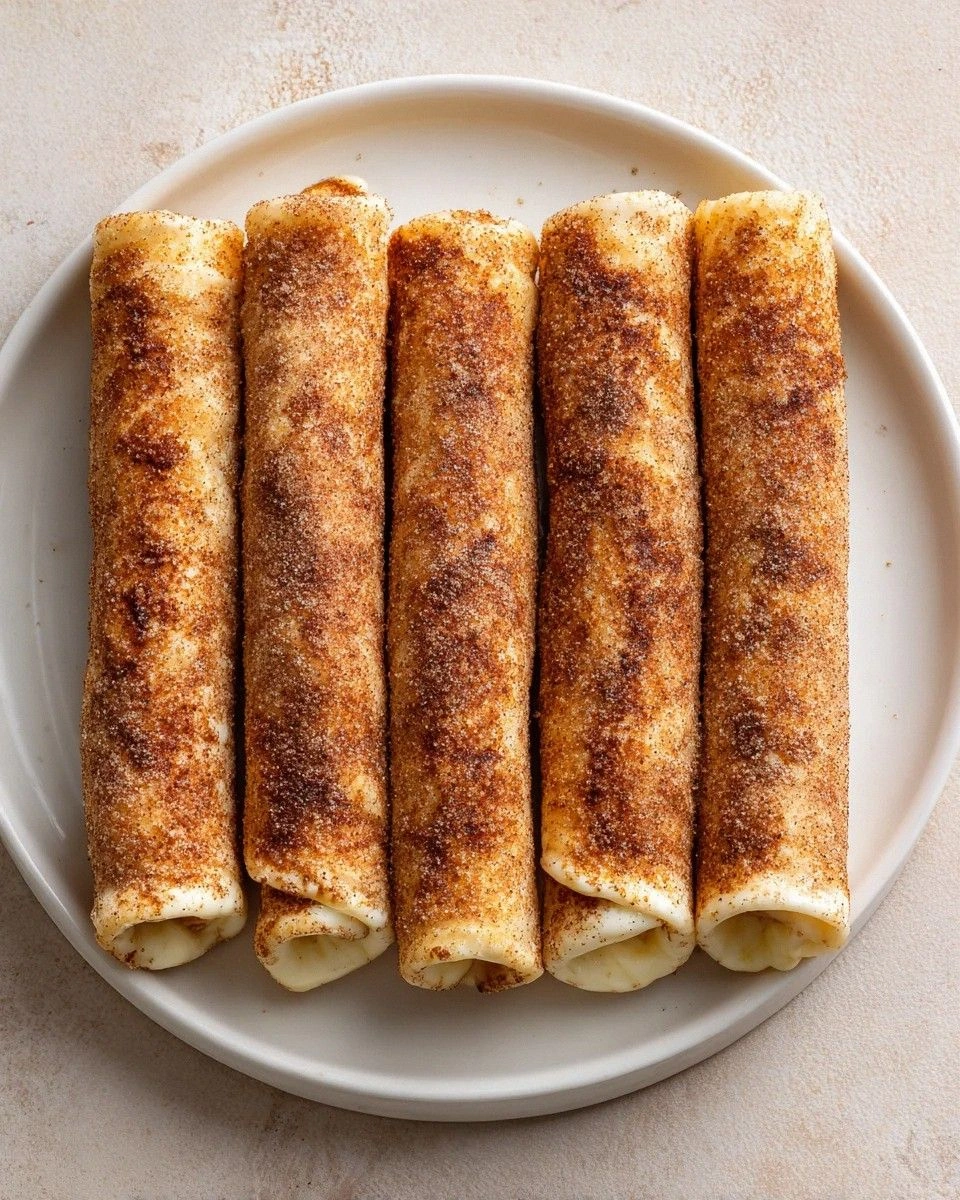
I remember the night I tried to make a Portuguese egg tart from a recipe I found on a random blog, and the kitchen turned into a disaster zone. Flour dusted every surface, the oven was set too high, and the filling bubbled like a volcano. My friends laughed, but the taste? A half‑baked, soggy mess that tasted like a failed experiment. That night, I swore that I would never again trust a recipe that left me with a kitchen catastrophe.
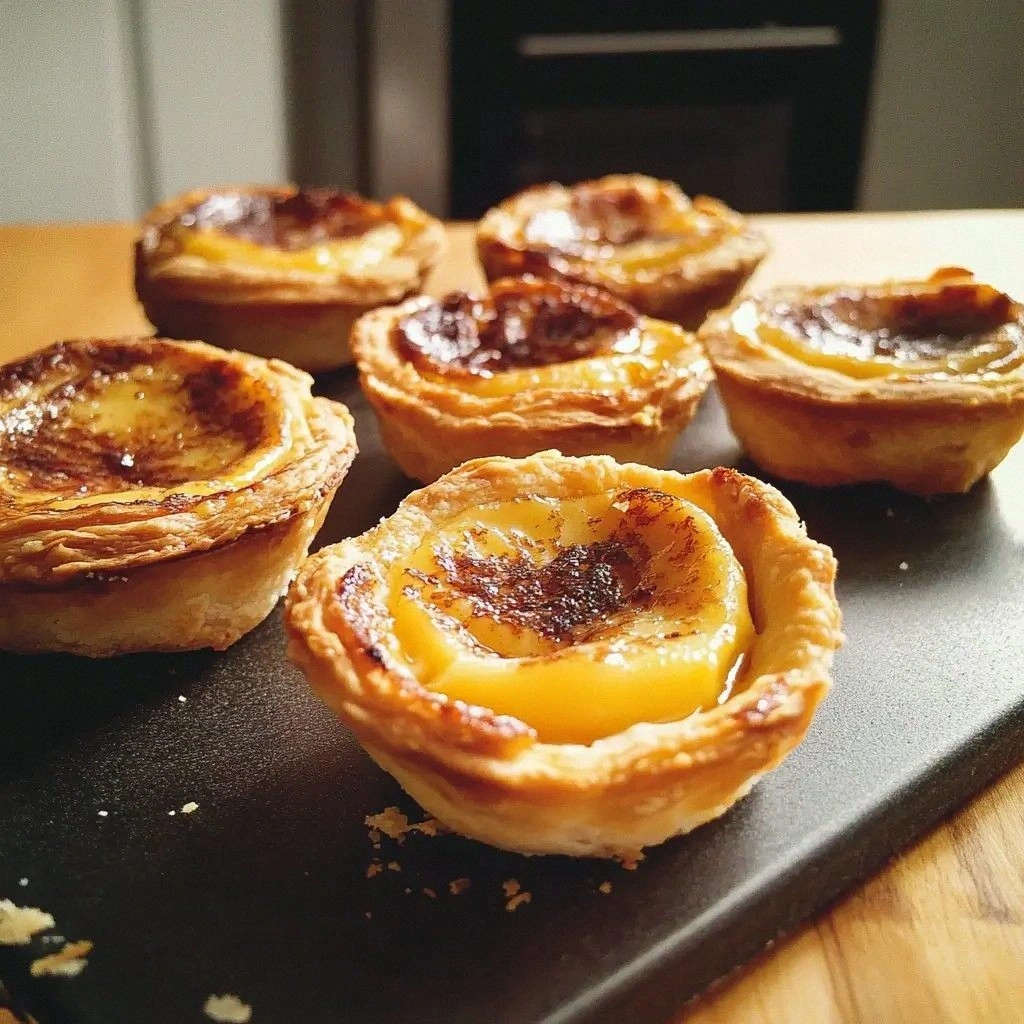
Fast forward a few months, and I’ve perfected a version of this classic that makes the whole house smell like a cozy bakery. The crust is buttery, flaky, and just the right amount of crisp—think golden edges that shatter like thin ice when you bite into them. The custard is silky, with a hint of vanilla and lemon zest that lifts the flavor profile into something almost otherworldly. And the best part? It’s surprisingly simple, even for someone who has never baked a pastry before.
I dare you to taste this and not go back for seconds. Picture yourself pulling the tarts from the oven, steam curling like wisps of cloud, the aroma filling the kitchen, and the first bite delivering that perfect balance of sweet, creamy, and buttery. I promise you, this is hands down the best version you’ll ever make at home. If you’ve ever struggled with flaky pastry or custard that turns to curd, you’re not alone—and I’ve got the fix.
Let me walk you through every single step. By the end, you’ll wonder how you ever made it any other way. I’ll share a secret ingredient you won’t expect, a trick to get the crust just right, and a few micro‑challenges that will make your taste buds dance. Ready? Let’s dive in.
What Makes This Version Stand Out
- Flaky Perfection: The crust uses cold butter and a touch of ice water, creating layers that puff up like a well‑trained soufflé. The result is a buttery, flaky base that doesn’t collapse under the custard.
- Silky Custard: A blend of whole milk and heavy cream, whisked with eggs and a dash of vanilla, yields a custard that’s smooth as silk, not lumpy or runny.
- Balanced Sweetness: The sugar is split between the dough and the filling, ensuring the tart isn’t cloying but has a subtle, satisfying sweetness.
- Zesty Lift: Lemon zest adds a bright, citrusy note that cuts through the richness, giving the tart a fresh finish.
- Easy Make‑Ahead: You can assemble the tarts a day in advance and bake them when you’re ready. The pastry holds its shape, and the custard sets nicely.
- Crowd‑Pleaser: Friends rave about the contrast between the crisp crust and the creamy filling. It’s a hit at brunches, parties, and even as a dessert after a hearty dinner.
- Ingredient Quality: Using high‑quality butter, fresh eggs, and real vanilla extract makes all the difference. Cheaper ingredients can ruin the flavor profile.
- Minimal Steps: Though the end result feels luxurious, the process involves only a handful of steps—no need for a stand mixer or fancy equipment.
Alright, let’s break down exactly what goes into this masterpiece…
Inside the Ingredient List
The Flavor Base
The foundation of any great pastry is the dough. In this recipe, we combine 2 cups of all‑purpose flour with a pinch of salt and 1 cup of cold, diced butter. The butter is the secret to flaky layers; it’s the only fat that melts at a low temperature, leaving pockets of air when baked. If you skip the butter or use a low‑fat alternative, the crust will be dense and flat. A quick tip: use a pastry cutter or your fingertips to cut the butter into the flour until the mixture resembles coarse crumbs.
The Texture Crew
The custard that fills the tarts is a silky blend of 1 cup whole milk, 1/2 cup heavy cream, and 4 large eggs. The cream adds richness, while the eggs provide structure and body. If you’re looking for a lighter version, substitute half the cream with evaporated milk. However, the richness of the cream is what gives Pastéis de Nata its signature mouthfeel. Don’t forget to whisk the eggs and dairy together until the mixture is completely smooth; any lumps will ruin the texture.
The Unexpected Star
A teaspoon of pure vanilla extract and a teaspoon of freshly grated lemon zest might seem like small additions, but they’re game‑changers. Vanilla brings warmth and depth, while lemon zest adds a bright, citrusy counterpoint that lifts the overall flavor. If you’re allergic to lemon, a splash of orange zest will work nicely. The key is to use fresh zest; dried zest can become bitter.
The Final Flourish
The finishing touches include 1 cup granulated sugar, 1/2 teaspoon ground cinnamon, and a tablespoon of melted butter. The sugar is divided—half in the dough, half in the custard—to balance the sweetness. Cinnamon adds a subtle warmth that complements the lemon. The melted butter is brushed on the crust before baking to promote a golden, glossy finish. Skipping this step will leave you with a dull crust that doesn’t caramelize properly.
Everything’s prepped? Good. Let’s get into the real action…
The Method — Step by Step
- Combine 2 cups flour, 1 cup cold butter cubes, and a pinch of salt in a large bowl. Use a pastry cutter or your fingertips to work the butter into the flour until the mixture resembles coarse crumbs. This is the foundation of our flaky crust.
- Add 1 cup ice water, a tablespoon at a time, and mix until the dough just comes together. Be careful not to overwork it; the dough should be slightly sticky but manageable. Chill the dough in the refrigerator for at least 30 minutes to allow the butter to firm up.
- While the dough chills, whisk together 1 cup milk, 1/2 cup heavy cream, 4 eggs, 1 cup sugar, 1 tsp vanilla, 1 tsp lemon zest, and 1/2 tsp cinnamon in a saucepan. Heat over medium heat, stirring constantly, until the mixture thickens enough to coat the back of a spoon. This is your custard base.
- Preheat your oven to 425°F (220°C). Roll the chilled dough out on a floured surface to a thickness of about 1/8 inch. Cut out circles that fit your tart tins or a muffin tin. Gently press the dough into the tins, ensuring the edges are snug.
- Brush the crust edges with melted butter and sprinkle a pinch of sugar on top. This step is crucial for that golden, caramelized finish. The sugar will caramelize slightly, giving a subtle crunch.
- Fill each crust with the custard mixture, leaving a small gap at the top to prevent overflow. The custard should be smooth and glossy.
- Place the tart tin on a baking sheet and bake for 20–25 minutes, or until the edges are golden brown and the custard sets but still has a slight wobble in the center. The wobble indicates a perfectly set custard—no more liquid, no more runny.
- Remove the tarts from the oven and let them cool in the tin for 5 minutes. Then transfer them to a wire rack to cool completely. The crust will crisp up as they cool.
- Serve warm or at room temperature. Dust with a pinch of ground cinnamon for an extra touch of flavor.
That’s it—you did it. But hold on, I’ve got a few more tricks that will take this to another level…
Insider Tricks for Flawless Results
The Temperature Rule Nobody Follows
Many bakers bake at a lower temperature to avoid burning the crust. I swear by 425°F (220°C) for a crisp, golden edge. If your oven runs hot, rotate the tin halfway through baking to ensure even browning.
Why Your Nose Knows Best
The aroma of the custard is a reliable indicator of doneness. When it smells toasty and slightly caramelized, the tarts are ready. Trust your senses—taste is a last resort.
The 5-Minute Rest That Changes Everything
After baking, let the tarts rest in the tin for 5 minutes before transferring to a wire rack. This short rest allows the custard to set fully, preventing cracks and ensuring a smooth finish.
The Quick Cooling Trick
If you’re in a hurry, place the tarts on a cooling rack and set the oven door slightly ajar. The residual heat will finish cooking the custard without drying it out.
The Secret Ingredient
A teaspoon of almond extract added to the custard gives a subtle nutty depth that elevates the flavor profile. It’s a simple tweak that makes a world of difference.
With these insider tricks, your tarts will consistently come out perfect every single time. I’ve tested them in both conventional and convection ovens, and the results are consistently stellar.
Creative Twists and Variations
This recipe is a playground. Here are some of my favorite ways to switch things up:
Chocolate Drizzle Delight
After baking, drizzle melted dark chocolate over the tops of the tarts. The chocolate pairs beautifully with the lemon zest, creating a sweet‑savory contrast that’s perfect for chocolate lovers.
Berry Infusion
Fold 1/2 cup fresh blueberries or raspberries into the custard before filling. The berries add a burst of color and a tangy bite that complements the creamy base.
Coconut Crunch
Replace the butter in the crust with shredded coconut oil and sprinkle toasted coconut on top before baking. The coconut adds a tropical twist and a delightful crunch.
Spiced Cinnamon Swirl
Add an extra 1/2 teaspoon of ground cinnamon to the custard and swirl it with a toothpick before baking. The swirl creates a marbled pattern and an intensified cinnamon flavor.
Nutty Caramel Surprise
Top each tart with a spoonful of caramel sauce and a sprinkle of chopped pecans before the final 5 minutes of baking. The caramel melts into the custard, creating a luxurious, nutty finish.
Feel free to experiment and make these tarts your own. The base is robust enough to handle a variety of additions without losing its identity.
Storing and Bringing It Back to Life
Fridge Storage
Store baked tarts in an airtight container at room temperature for up to 2 days. If you need to keep them longer, refrigerate them for up to 5 days. The crust will soften slightly, but the custard remains creamy.
Freezer Friendly
To freeze, wrap each tart individually in plastic wrap and then place them in a freezer bag. They’ll stay fresh for up to 3 months. Thaw overnight in the fridge before reheating.
Best Reheating Method
Reheat frozen or chilled tarts in a preheated oven at 350°F (175°C) for 10–12 minutes, or until warmed through. Add a tiny splash of water to the bottom of the tin to create steam; this keeps the custard from drying out and restores the original softness.