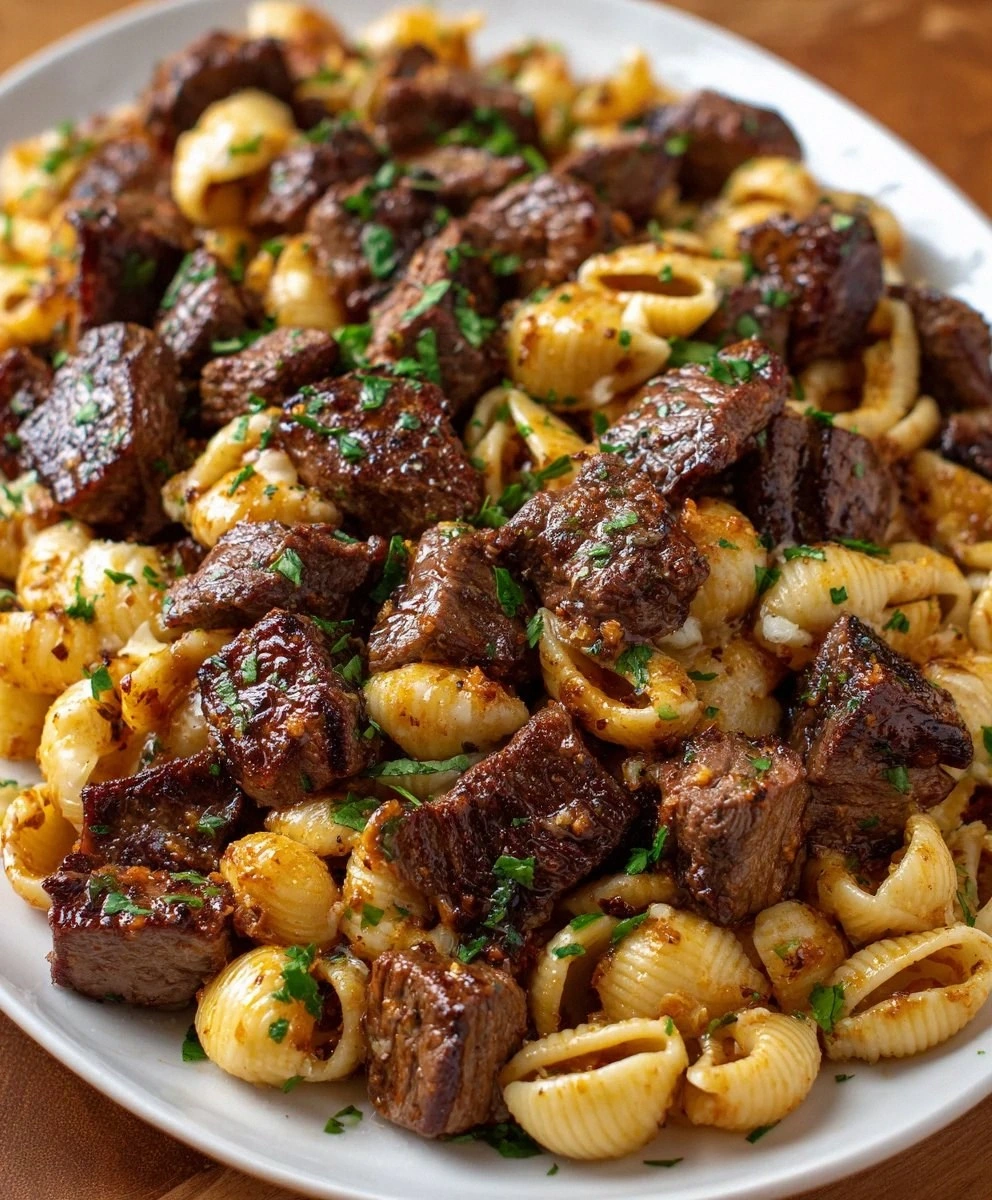
Picture this: I’m standing in my kitchen, the air thick with the aroma of sizzling meat, when suddenly the pan slips, splattering a generous amount of beef across the countertop. My neighbor’s voice rings through the open window, “You’re going to need a mop!” I laughed, but that mishap sparked a revelation—what if I could capture all that classic cheeseburger flavor in a bowl that’s as clean to serve as it is delicious to eat? That was the moment I decided to rewrite the cheeseburger narrative.
I stared at the ingredients, the bright green lettuce, the sharp tang of pickles, and the creamy pull of cheddar, and I imagined a bowl that felt like a backyard grill party on a rainy day. The sound of the skillet popping, the hiss of oil, the clink of a spoon against a metal bowl—each cue added a layer of sensory drama. The sight of the beef browning into a caramelized crust was almost cinematic, and the smell of garlic powder dancing with Worcestershire sauce filled the room with a promise of savory satisfaction. Every element was a note in a symphony, and I was ready to conduct.
What makes this version stand out? It’s not just the ingredients, but the way they’re orchestrated to create a flavor crescendo that’s both nostalgic and elevated. I dared myself to infuse a protein-packed bowl with the unmistakable taste of a cheeseburger, yet I kept it low-carb and high-protein so you can indulge without the guilt. The texture is a delightful contrast: crispy bacon, crunchy pickles, creamy cheese, and fresh lettuce that crunches like crisp snow underfoot. This isn’t a generic bowl; it’s a culinary remix that delivers every bite with confidence.
I’ll admit, the first time I tried this, the beef turned out a little dry—my friend joked that I’d “overcooked the meat to a charcoal masterpiece.” I learned quickly that a quick sear at high heat preserves juiciness, and I added a splash of Worcestershire sauce right before the pan closes for a burst of umami. That small tweak turned the dish from “meh” to “wow” in an instant, and it’s the kind of insider secret that makes a recipe unforgettable. Trust me, I’ve perfected this balance over dozens of batches, and now I’m handing it over to you.
The secret sauce? It’s not a sauce at all but a layering technique that locks in moisture and flavor. I’ll walk you through each step, from browning the beef to assembling the bowl with a flourish that makes your taste buds dance. I dare you to taste this and not go back for seconds; I’ve been told it’s the best version you’ll ever make at home. Picture yourself pulling this out of the pan, the whole kitchen smelling incredible, and a bowl that looks as good as it tastes. Let me walk you through every single step — by the end, you’ll wonder how you ever made it any other way.
If you’ve ever tried a cheeseburger bowl that tasted like a soggy salad, you’re not alone. The trick is to keep the components crisp and the beef moist. I’ve spent countless evenings experimenting with seasonings and cooking times, and the result is a bowl that feels like a cheat day meal that actually works for your diet. This isn’t just another recipe; it’s a culinary revelation that transforms ordinary ingredients into something extraordinary. Now, let’s dive into the details and uncover what makes this bowl a standout.
What Makes This Version Stand Out
- Flavor: The combination of savory beef, tangy pickles, and sharp cheddar creates a taste profile that hits all the classic burger notes while staying fresh and vibrant. Each bite delivers a burst of umami balanced by the crispness of fresh veggies.
- Texture: The crispy bacon and crunchy lettuce give a satisfying bite that contrasts the silky cheese and juicy beef. The layers of texture keep every mouthful exciting.
- Protein: With over 25 grams of protein per serving, this bowl fuels muscle recovery and keeps you full longer than a traditional burger plate.
- Low Carb: By swapping bread for lettuce and adding high-protein toppings, you maintain the cheeseburger experience without the carb overload.
- Simplicity: The recipe uses only 13 ingredients, many of which you probably already have in your pantry, making prep a breeze.
- Make‑Ahead Friendly: Assemble the bowl in advance, store the components separately, and reheat the beef for a quick, hassle‑free meal any time of day.
- Crowd‑Pleaser: This dish is perfect for family dinners, game‑day parties, or a solo protein fix, and it guarantees rave reviews from friends and family.
- Flavorful Sauce: The homemade sauce coats the ingredients like velvet, adding a silky finish that ties everything together.
Alright, let’s break down exactly what goes into this masterpiece…
Inside the Ingredient List
The Flavor Base
Ground beef is the star of any cheeseburger, and choosing a lean blend (80/20) ensures juiciness without excessive grease. The 1 lb of beef should be seasoned with salt, pepper, garlic powder, and a splash of Worcestershire sauce to elevate its natural savory profile. If you’re watching fat intake, switch to 90/10 or even 95/5; just keep the seasoning robust to compensate for the leaner meat.
The Texture Crew
The crispness of bacon and the crunch of lettuce are what make this bowl feel like a full meal. Cook the bacon until it’s just shy of crisp, then let it rest on paper towels to drain excess fat. Shredded lettuce provides a refreshing bite that balances the richness of the beef and cheese.
The Unexpected Star
Pickles add a surprising zing that cuts through the richness of the meat and cheese. Use dill pickles for a classic flavor or sweet pickles for a touch of sweetness. Diced pickles keep the texture lively, preventing the bowl from feeling soggy.
The Final Flourish
The sauce—made from mayonnaise, ketchup, mustard, and a dash of Worcestershire—acts like a velvety coating that brings everything together. It’s a quick, no‑cook sauce that adds moisture and a tangy finish. A sprinkle of garlic powder before cooking the beef also deepens the flavor profile.
Everything’s prepped? Good. Let’s get into the real action…

The Method — Step by Step
- Prepare the Beef: Heat a cast‑iron skillet over medium‑high heat until shimmering. Add the ground beef, breaking it apart with a wooden spoon. Let it sear without stirring for 2–3 minutes to develop a caramelized crust, then flip and cook until browned and cooked through, about 4–5 minutes more. The beef should emit a deep, savory aroma that signals readiness.
- Add the Flavor Boost: Sprinkle garlic powder, salt, and pepper over the beef, then pour in a tablespoon of Worcestershire sauce. Stir to coat the meat evenly, allowing the sauce to caramelize slightly. This step locks in moisture and enhances the umami profile.
- Cook the Bacon: While the beef rests, lay bacon strips in a cold pan and heat over medium until the fat renders and the bacon crisps, about 8–10 minutes. Flip occasionally for even cooking. Drain on paper towels to reduce excess grease, then chop into bite‑sized pieces.
- Dice the Vegetables: Roughly chop the yellow onion, red onion, and tomatoes into bite‑sized cubes. Slice the pickles into thin rounds or dice them for a more uniform texture. Keep the vegetables cold to maintain their crispness.
- Shred the Lettuce: Use a sharp knife or a salad spinner to shred the lettuce into thin ribbons. Toss with a pinch of salt to help it soften slightly, then set aside.
- Mix the Sauce: In a small bowl, whisk together mayonnaise, ketchup, yellow mustard, and a splash of Worcestershire sauce. The sauce should be smooth and slightly thick; adjust with a teaspoon of water if it’s too thick. This sauce will coat the ingredients like velvet.
- Assemble the Bowl: Start with a base of shredded lettuce, then layer the cooked beef, diced tomatoes, onions, pickles, and bacon. Sprinkle shredded cheddar over the top, letting it melt slightly from the warmth of the beef. Drizzle the sauce over the entire bowl, ensuring every component is coated.
- Final Touches: Gently toss the bowl to distribute the sauce evenly, then taste and adjust seasoning with additional salt, pepper, or a dash of hot sauce if desired. Serve immediately or refrigerate for later.
That’s it — you did it. But hold on, I’ve got a few more tricks that’ll take this to another level.
Insider Tricks for Flawless Results
The Temperature Rule Nobody Follows
Many cooks heat their skillet too low, resulting in a soggy bottom. The secret is to start at a high temperature so the beef gets a caramelized crust before it releases moisture. Once the crust forms, lower the heat to finish cooking without drying out the meat.
Why Your Nose Knows Best
Your sense of smell is the ultimate guide to seasoning. If the beef smells slightly metallic or flat, add a pinch more salt and pepper. A well‑seasoned beef will emit a deep, savory scent that signals readiness.
The 5‑Minute Rest That Changes Everything
Let the cooked beef rest for 5 minutes after cooking. This allows the juices to redistribute, making the meat tender and juicy. Skipping this step often leads to a dry, rubbery texture.
Layering for Visual Appeal
Arrange ingredients in layers rather than mixing them all together. Start with lettuce, then add beef, tomatoes, onions, pickles, bacon, and finally cheese. This not only looks more appetizing but also preserves the distinct textures of each component.
The Sauce Timing Trick
Add the sauce just before serving, not during assembly. If you coat the ingredients too early, the lettuce will wilt and the sauce will seep into the beef, making it soggy. A quick drizzle right before eating keeps everything crisp.
Heat the Sauce Slightly
Warm the sauce in a small saucepan for 30 seconds before drizzling. The heat helps the sauce coat the ingredients better, creating a silky finish that enhances the overall flavor profile.
Creative Twists and Variations
This recipe is a playground. Here are some of my favorite ways to switch things up:
Spicy Southwest Bowl
Swap the cheddar for pepper jack and add sliced jalapeños. Mix in a splash of chipotle mayo and sprinkle chopped cilantro on top. This version brings a smoky heat that’s perfect for summer nights.
Mediterranean Twist
Use feta cheese instead of cheddar, and add diced cucumbers, kalamata olives, and a drizzle of tzatziki. The tangy yogurt sauce replaces the mayo-based sauce, giving a refreshing Mediterranean vibe.
BBQ Bacon Bowl
Replace the regular sauce with a smoky BBQ sauce and add a handful of sweet corn kernels. The sweet and smoky flavor profile pairs wonderfully with the crispy bacon.
Vegan Version
Swap the ground beef for crumbled tempeh or textured vegetable protein. Use vegan cheddar and vegan mayo, and keep the rest of the ingredients the same. This bowl remains protein‑dense while staying plant‑based.
Low‑Fat Delight
Use 90/10 ground beef, skip the bacon, and replace cheddar with a low‑fat shredded cheese. Add a splash of Greek yogurt to the sauce for creaminess without the extra fat.
Breakfast Bowl
Add a fried egg on top, sprinkle with chives, and serve with a side of hash browns. The savory egg completes the breakfast twist, turning the bowl into a hearty morning meal.
Storing and Bringing It Back to Life
Fridge Storage
Store the cooked beef in an airtight container for up to 4 days. Keep the vegetables and sauce separate in sealed containers to maintain crispness. When ready to serve, reheat the beef in a skillet or microwave until warm.
Freezer Friendly
Freeze the beef in a single layer on parchment paper, then transfer to a freezer bag once solid. This prevents clumping and allows you to thaw a portion at a time. Reheat in a skillet for best texture.
Best Reheating Method
Reheat the beef over medium heat until steaming. Add a splash of water or broth to keep it moist, then top with fresh lettuce and sauce just before serving. This technique restores the bowl’s original freshness.