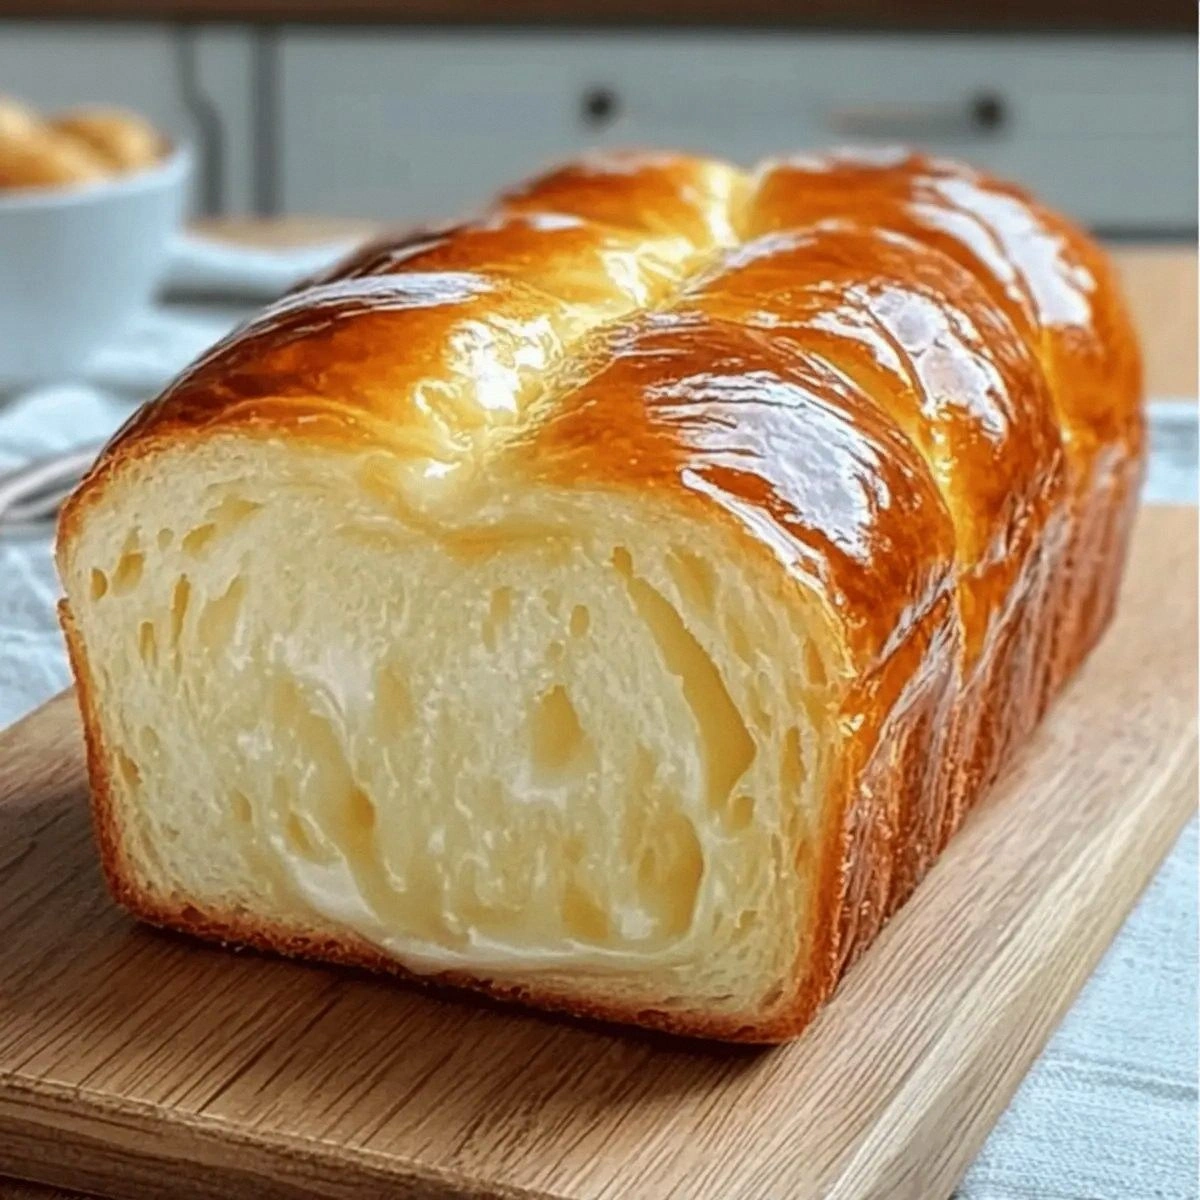
I was halfway through a frantic Monday morning, the kind where the coffee machine sputters, the kids are already demanding breakfast, and you swear you heard the toaster scream for help. In the chaos I reached for the last slice of stale bread, only to realize I had a half‑cup of sweetened condensed milk begging for a purpose. That moment sparked a dare: could I turn that sugary goo into something that would make the whole house feel like a five‑star bakery? Spoiler alert – I succeeded, and the result is a cloud‑like milk bread that practically glows with buttery goodness.
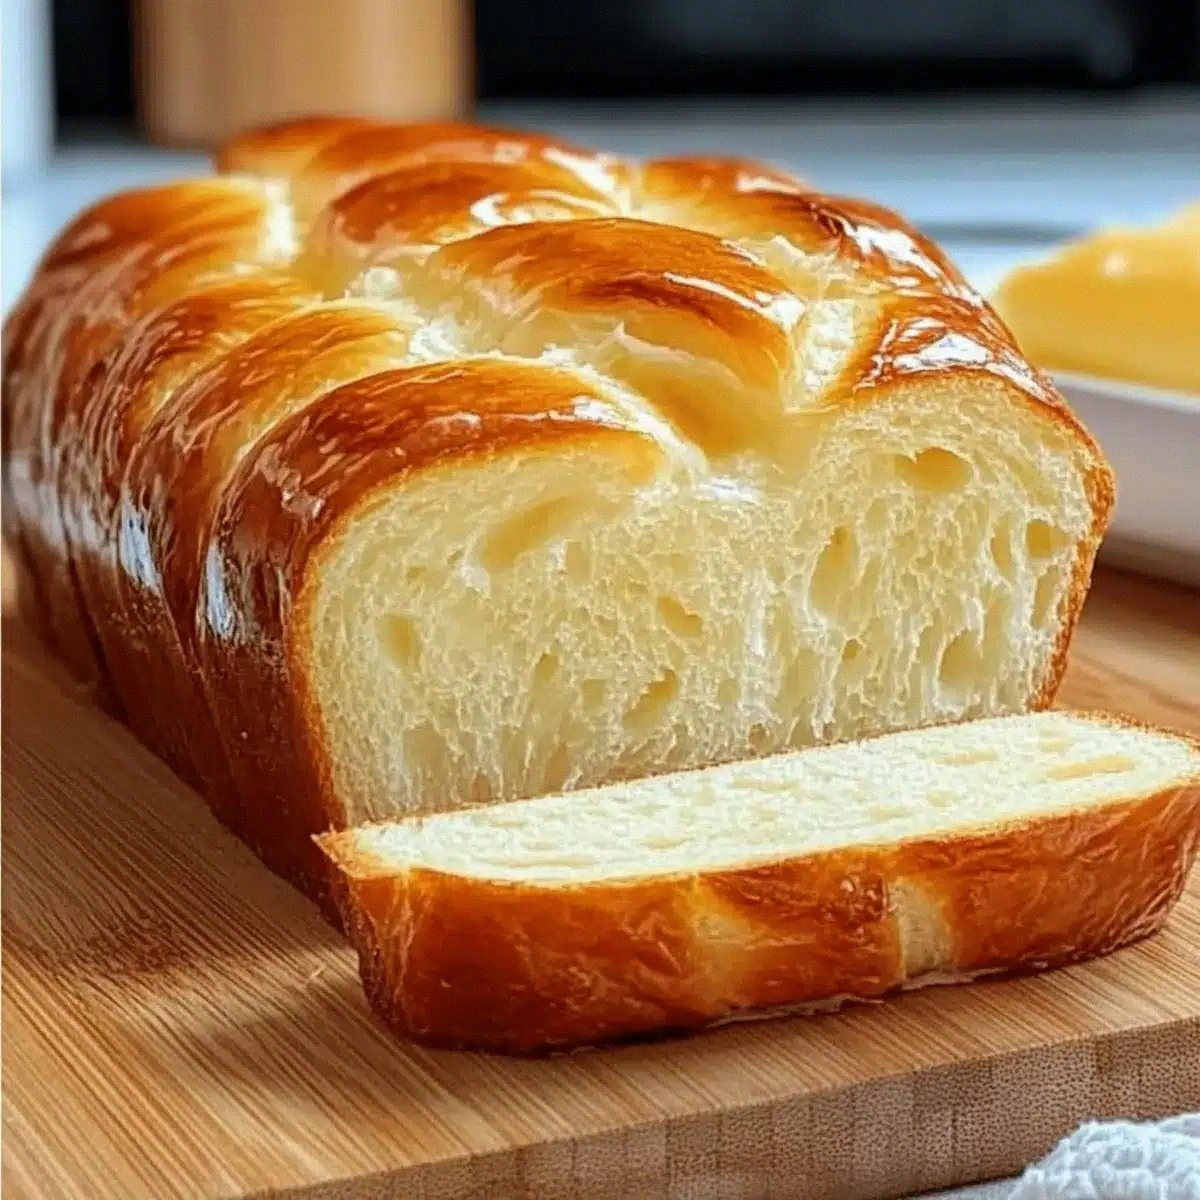
Picture this: the kitchen filled with the warm, buttery aroma of dough rising, the faint hiss of the oven preheating like a gentle promise, and the soft hum of the mixer as it kneads the batter into a silky, elastic ribbon. The dough feels like a plush pillow under your fingertips, yielding just enough to give you that satisfying “snap” when you pull it apart. When it finally emerges from the oven, the crust is a golden‑tan that cracks just enough to reveal a fluffy interior that bounces back when you press it—like a pillow that never loses its shape.
What makes this version stand out from the sea of milk‑bread recipes out there? Most of them either skip the condensed milk and end up with a bland, bread‑like texture, or they over‑sweeten the loaf, turning it into a dessert masquerading as breakfast. I’ve cracked the code by balancing the sweet condensed milk with a modest amount of sugar, a pinch of salt, and a whisper of cinnamon that sings in the background without stealing the show. The secret is a gentle, low‑heat proofing that lets the yeast work its magic without over‑inflating the dough, delivering that signature airy crumb you’ve been chasing.
But wait—there’s a twist you won’t see coming. I toss in a handful of shredded cheese or fresh herbs right before the final bake, creating a subtle savory edge that makes the bread perfect for everything from jam‑slathered toast to a cheeky cheese‑and‑herb melt. I dare you to taste this and not go back for seconds; the combination of sweet, salty, and aromatic spice is a flavor party that refuses to end. Okay, ready for the game‑changer? Let me walk you through every single step — by the end, you’ll wonder how you ever made it any other way.
What Makes This Version Stand Out
- Taste: The condensed milk adds a caramel‑kissed sweetness that’s balanced by salt and cinnamon, creating a flavor that’s both comforting and exciting.
- Texture: A feather‑light crumb that lifts off the plate like a cloud, thanks to the perfect hydration ratio and gentle proofing.
- Simplicity: Only nine ingredients, all pantry staples, and no fancy equipment—just a bowl, a mixer, and a willing heart.
- Uniqueness: The addition of cheese or herbs at the end gives a savory surprise that most milk‑bread recipes lack.
- Crowd Reaction: People swear it’s “the best thing they’ve ever tasted for breakfast,” and you’ll hear the same chant at every brunch.
- Ingredient Quality: Using real butter and fresh eggs elevates the loaf from “good” to “magical.”
- Method: A low‑heat, long proof that coaxed the yeast into a slow, steady rise, preventing any dense, gummy spots.
- Make‑Ahead Potential: The loaf freezes beautifully, and a quick steam‑reheat restores its fluffiness in minutes.
Inside the Ingredient List
The Flavor Base
The sweetened condensed milk is the hero of this story, delivering a rich, caramel‑like depth that plain milk simply can’t match. It also adds a subtle moisture that keeps the crumb tender long after the loaf cools. If you skip it, you’ll end up with a dry, one‑dimensional bread that feels more like a toast than a treat. As a swap, you could use evaporated milk plus a tablespoon of honey, but you’ll lose that unmistakable silkiness.
The Texture Crew
All‑purpose flour provides the structural backbone, while the yeast is the tiny engine that lifts the dough. The milk and egg introduce fats and proteins that soften the gluten network, ensuring that the final crumb stays airy. Sugar feeds the yeast, but don’t over‑sweeten—just enough to coax the yeast without turning the loaf into a dessert. If you’re gluten‑sensitive, a 1:1 blend of gluten‑free flour and xanthan gum can work, but expect a slightly denser texture.
The Unexpected Star
A teaspoon of cinnamon (or any warm spice you love) adds a whisper of comfort that lingers on the palate. It’s the quiet sidekick that makes the bread feel like a hug on a cold morning. You can experiment with nutmeg, cardamom, or even a pinch of orange zest for a citrusy twist. Just remember: a little goes a long way, and you don’t want the spice to overpower the sweet‑milk base.
The Final Flourish
Cheese or herbs are added right before the final bake, creating a savory crust that contrasts beautifully with the sweet interior. Fresh herbs like rosemary or thyme add an aromatic lift, while shredded cheddar gives a gooey, melty edge. If you’re dairy‑free, try a sprinkle of nutritional yeast or toasted sesame seeds for a nutty finish. The key is to add them just before the oven’s heat hits, so they crisp without burning.
Everything's prepped? Good. Let's get into the real action...
The Method — Step by Step
Start by warming the milk to about 105°F (40°C) – it should feel like a warm bath, not scalding. Sprinkle the active dry yeast over the milk, give it a gentle stir, and let it sit for 5‑7 minutes until it becomes frothy. This is the moment of truth; if the yeast doesn’t foam, you’ve got a dead culture and need fresh yeast.
In a large mixing bowl, combine the flour, sugar, salt, and cinnamon. Make a well in the center, then pour in the frothy yeast mixture, the condensed milk, the egg, and the melted butter (cooled to room temperature). Using a stand mixer on low speed, mix until a shaggy dough forms.
Switch the mixer to medium speed and knead for about 8‑10 minutes. You’ll know it’s ready when the dough pulls away from the sides of the bowl and forms a smooth, elastic ball. Watch Out: Over‑kneading can tighten the gluten too much, resulting in a tough crumb. Stop when the dough passes the “windowpane test”—a thin piece should stretch without tearing.
Transfer the dough to a lightly oiled bowl, cover it with a damp cloth, and let it rise in a warm spot (around 80°F) for 60‑75 minutes, or until doubled in size. The kitchen should smell faintly sweet and yeasty, like a bakery in the early morning. If the dough hasn’t risen much, give it an extra 15 minutes; patience is key.
Punch down the dough gently to release excess air, then turn it out onto a floured surface. Divide it into two equal portions, shape each into a smooth loaf, and place them into greased 9‑inch loaf pans. This is the stage where you can sprinkle shredded cheese or chopped herbs on top for that savory finish.
Cover the pans loosely with plastic wrap and let the loaves proof for a second time, about 30‑40 minutes, until they rise just above the rim of the pan. The surface should look slightly domed and feel soft to the touch. This second rise is where the magic really happens, giving the bread its signature lift.
Preheat your oven to 350°F (175°C). Place a shallow pan of hot water on the lower rack to create steam—this helps develop a glossy crust that cracks just enough to reveal the fluffy interior.
Bake the loaves for 25‑30 minutes, rotating the pans halfway through for even browning. The tops should turn a deep golden‑tan, and a quick tap on the bottom of the loaf should sound hollow. If the crust darkens too quickly, tent the loaves with foil for the last 10 minutes.
Remove the bread from the oven, let them cool in the pans for 10 minutes, then transfer to a wire rack. As they cool, the crust will set while the interior stays soft. Slice while still warm for that melt‑in‑your‑mouth experience, or wait until fully cooled for perfect toast.
That's it — you did it. But hold on, I've got a few more tricks that'll take this to another level...
Insider Tricks for Flawless Results
The Temperature Rule Nobody Follows
Never let your dough sit in a cold kitchen; yeast is a temperature‑sensitive organism. Aim for a proofing environment around 80°F (27°C). If your house is chilly, pop the bowl in an off oven with the light on, or use a microwave set to “defrost” for a quick warm spot. A friend once tried proofing in the fridge to “slow the rise,” and the loaf turned out dense as a brick—trust the heat.
Why Your Nose Knows Best
Your nose is the best gauge for dough readiness. When the dough has doubled, you’ll smell a subtle sweet‑yeasty perfume, like fresh dough left out in a bakery. If you can’t detect any scent, give it a few more minutes. This sensory cue beats any timer and prevents under‑ or over‑proofing.
The 5‑Minute Rest That Changes Everything
After shaping the loaves, let them rest uncovered for exactly five minutes before the final proof. This short rest lets the gluten relax, making the final rise more uniform and the crumb finer. Skipping this step can lead to a tight, rubbery texture that no amount of butter can fix.
Steam Magic for a Crust That Shines
Place a pan of boiling water on the oven floor during the first 10 minutes of baking. The steam delays crust formation, allowing the loaf to expand fully before the skin sets. The result is a glossy, crackly crust that looks like it belongs on a bakery display case.
Butter Brush Finale
When the bread is out of the oven, brush the tops with melted butter while they’re still hot. This not only adds flavor but also gives the crust a silky sheen that makes it irresistible to the eye. I’ll be honest — I ate half the batch before anyone else got to try it, thanks to this buttery finish.
Creative Twists and Variations
This recipe is a playground. Here are some of my favorite ways to switch things up:
Cinnamon‑Sugar Swirl
Before the final proof, roll the dough out, brush with melted butter, sprinkle a mixture of cinnamon and sugar, then roll it up and shape into a loaf. The result is a sweet, spiral‑like interior that’s perfect for breakfast treats.
Savory Herb Delight
Swap the cheese topping for a blend of chopped rosemary, thyme, and a dash of garlic powder. The herb‑infused crust pairs wonderfully with olive oil for dipping.
Chocolate Chip Surprise
Fold in ½ cup of mini chocolate chips during the last minute of kneading. The chips melt into pockets of gooey chocolate that surprise you with each bite.
Whole‑Wheat Boost
Replace half of the all‑purpose flour with whole‑wheat flour for a nuttier flavor and added fiber. The loaf will be slightly denser but still delightfully airy.
Zesty Orange
Add a tablespoon of orange zest to the dough and a drizzle of orange‑infused honey on top before baking. The citrus note lifts the sweetness and makes the bread feel fresh.
Storing and Bringing It Back to Life
Fridge Storage
Wrap the cooled loaf tightly in plastic wrap or store it in an airtight container. It will stay fresh for up to 5 days. For a quick breakfast, slice and toast directly from the fridge.
Freezer Friendly
Slice the bread before freezing, then place the slices in a zip‑top bag, removing as much air as possible. The bread freezes solid for up to 3 months. To reheat, microwave a slice for 15‑20 seconds or pop a few slices into a toaster.
Best Reheating Method
Add a tiny splash of water (about a teaspoon) to the loaf before reheating in a 350°F oven for 5‑7 minutes. The steam revives the crust’s crispness and restores the interior’s fluffiness, making it taste as if it just came out of the oven.