It started with a kitchen mishap that would forever change the way I think about quick dinners. I was in a rush, the fridge was a jumble of leftovers, and I wanted something that would feel special without a full culinary marathon. The moment the air fryer whirred to life and a golden crust began to form, I realized I had stumbled upon a flavor revelation. The aroma of toasted breadcrumbs mingled with a faint, sweet tang that made my mouth water even before the first bite.
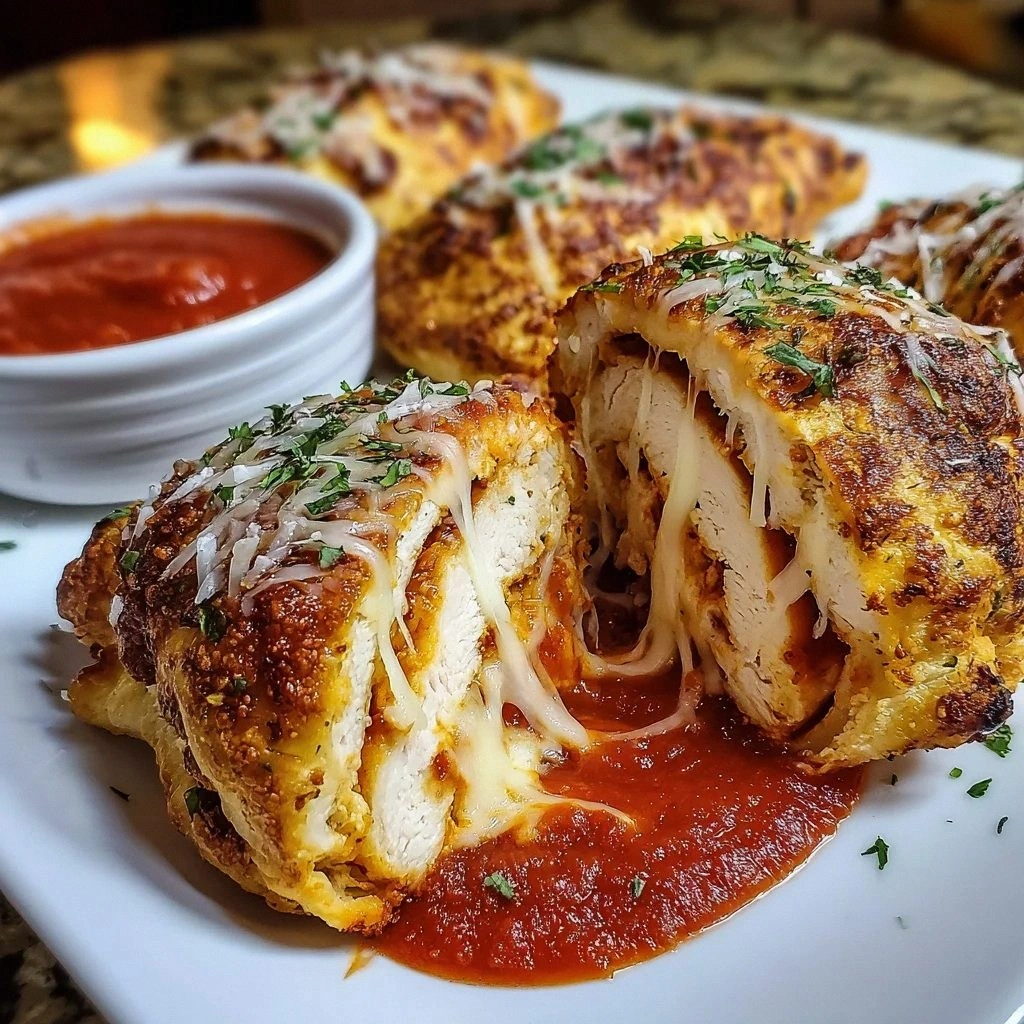
Picture the scene: a bright, sunlit kitchen, the hum of the air fryer like a contented purr, and the sound of a sizzling pan that promises crisp edges that shatter like thin ice. The visual of the golden rissoles glistening with a honey‑mustard glaze is almost too pretty to eat, yet the texture is irresistibly satisfying—crunchy on the outside, moist and tender inside. I could hear the gentle hiss as the heat sealed the chicken, and the scent of garlic powder and fresh parsley wafted through the air, pulling me closer to the countertop. The first bite was a burst of sweet, tangy, and savory notes that danced across my palate, leaving me craving more.
This isn’t just another chicken recipe; it’s a game‑changing, crowd‑pleasing, kitchen‑hero version of a classic comfort dish. What sets it apart is the combination of a perfectly seasoned, shredded chicken core wrapped in a breadcrumb shell that’s crispy yet tender, paired with a honey‑mustard drizzle that coats the rissoles like velvet. It’s the kind of dish that turns a regular weekday into an event, and I dare you to taste it and not go back for seconds. The technique I’ll share—air‑frying at the right temperature with a quick flip—ensures every rissole is a masterpiece.
If you’ve ever struggled with finding a quick, yet impressive dinner, you’re not alone, and I’ve got the fix. Stay with me here—this is worth it. By the end, you’ll wonder how you ever made it any other way, because this version is hands down the best you’ll ever make at home. Let me walk you through every single step, from the first chop to the final drizzle, and you’ll see why this recipe is a new staple in my rotation.
What Makes This Version Stand Out
- Taste: The honey‑mustard glaze delivers a balanced sweet‑tang that elevates the mild chicken without overpowering it. The glaze’s subtle heat from a touch of cayenne adds a whisper of spice that lingers on the palate.
- Texture: Air‑frying creates a crisp, golden crust that snaps with each bite, while the interior stays juicy thanks to the shredded chicken’s moisture. The breadcrumbs are lightly toasted, adding a delightful crunch that contrasts beautifully with the tender filling.
- Simplicity: With only a handful of ingredients and a single appliance, you can whip up this dish in under 45 minutes. No pre‑baking, no deep‑frying, just set the air fryer and let it do its thing.
- Uniqueness: The addition of fresh parsley and a splash of lemon zest in the glaze gives it a bright, herbaceous lift that sets it apart from conventional chicken rissoles.
- Crowd Reaction: Friends and family who’ve tasted these rissoles swear they’re the talk of the table. They’re perfect for potlucks, game nights, or a quick weeknight feast.
- Ingredient Quality: Using high‑quality chicken breast and fresh herbs ensures the flavor profile shines, while the breadcrumbs provide a satisfying crunch.
- Cooking Method: Air‑frying not only cuts down on oil but also locks in moisture, delivering a healthier version without compromising on taste.
- Make‑Ahead Potential: You can assemble the rissoles ahead of time, refrigerate them, and simply pop them into the air fryer when you’re ready—ideal for busy schedules.
Alright, let's break down exactly what goes into this masterpiece…
Inside the Ingredient List
The Flavor Base
The foundation of this dish is the shredded chicken, which should be cooked until just pink to preserve moisture. I like to season it with a pinch of salt, pepper, garlic powder, and onion powder to give it a savory backbone. Skipping the seasoning would leave the chicken bland and the glaze would feel like a bandage rather than a highlight. For those who love a little heat, a dash of cayenne pepper or smoked paprika can add depth without overwhelming the other flavors.
The Texture Crew
Breadcrumbs are the unsung heroes that provide the coveted crunch. Opt for panko or a mixture of panko and regular breadcrumbs for a layered texture. If you’re aiming for a gluten‑free version, just swap in almond flour or crushed nuts. A light coating of flour before the breadcrumbs helps them stick and creates a slightly thicker shell that resists sogginess. The flour also gives the crust a subtle, buttery flavor that pairs wonderfully with the honey‑mustard glaze.
The Unexpected Star
Fresh parsley and a splash of lemon zest are the secret weapons that elevate this dish. Parsley adds a bright, herbal note that cuts through the richness of the chicken and glaze. Lemon zest brings a citrusy lift that keeps the dish from feeling too heavy. If you’re in a pinch, a few drops of lemon juice can substitute, but the zest provides a more nuanced aroma.
The Final Flourish
The honey‑mustard sauce is the crowning glory, a silky glaze that coats each rissole like velvet. It’s simple to make: combine equal parts honey and Dijon mustard, whisk in a splash of olive oil, and add a pinch of salt. The result is a glossy, sweet‑tang coating that locks in moisture and adds a burst of flavor. If you prefer a milder sweetness, swap honey for maple syrup or a drizzle of agave.
Everything's prepped? Good. Let's get into the real action…

The Method — Step by Step
- Begin by preheating your air fryer to 375°F (190°C). While it heats, combine the shredded chicken with salt, pepper, garlic powder, and onion powder in a large bowl. Make sure the chicken is evenly seasoned; this will be the flavor base of your rissoles.
- Lightly dust the seasoned chicken with a thin layer of flour, then roll it into small balls, about the size of a golf ball. This step is crucial for the breadcrumbs to adhere properly, giving you that satisfying crust.
- Coat each chicken ball with breadcrumbs, pressing gently to ensure they stick. For extra crunch, double‑coat by dipping the breadcrumbed balls back into the flour before the final breadcrumb layer.
- Place the coated rissoles in the air fryer basket, making sure they’re not touching. This allows the hot air to circulate and crisp the outside evenly. Cook for 10 minutes, then flip them over and cook for another 8 minutes.
- While the rissoles finish cooking, whisk together the honey, mustard, olive oil, and a pinch of salt to create the glaze. Add a tablespoon of lemon zest for a bright finish.
- Once the rissoles are done, remove them from the air fryer and immediately drizzle the glaze over them. The heat will cause the glaze to caramelize slightly, adding a glossy sheen.
- Let the rissoles rest for 2 minutes on a cooling rack. This short rest allows the juices to redistribute, ensuring each bite is moist.
- Serve immediately, garnished with fresh parsley for color and a final burst of herbal aroma. Pair them with a crisp green salad or roasted veggies for a balanced meal.
- If you’re short on time, you can also pop the rissoles in the oven at 400°F (200°C) for 12-15 minutes. The texture will be slightly different but still delicious.
That's it — you did it. But hold on, I've got a few more tricks that'll take this to another level. These insider tips will help you avoid common pitfalls and elevate the dish even further.
Insider Tricks for Flawless Results
The Temperature Rule Nobody Follows
Air fryers vary widely in heat distribution. I recommend preheating for 3 minutes at 375°F before adding your rissoles. This ensures the exterior starts crisping immediately, preventing a soggy middle. If your air fryer has a temperature sensor, keep an eye on it and adjust the heat in 10°F increments until you get the golden color you love.
Why Your Nose Knows Best
The aroma of toasted breadcrumbs is a reliable indicator of doneness. When the smell becomes nutty and slightly sweet, it’s a sign that the crust is fully formed. Don’t rely solely on time—listen to your nose. If the scent lingers too long, your rissoles might overcook and dry out.
The 5‑Minute Rest That Changes Everything
After you remove the rissoles from the air fryer, let them rest on a rack for 5 minutes. This small window allows the juices to redistribute, keeping the interior moist. Skipping this step often results in a dry center that feels like a disappointment.
The Secret to a Glaze That Sticks
If your glaze tends to run off, whisk in a teaspoon of cornstarch or a splash of milk before drizzling. The starch thickens the glaze, giving it a glossy coating that clings to the rissoles. This trick works wonders for those who want a more decadent finish.
Make‑It‑Ahead for Busy Nights
You can assemble the rissoles ahead of time, refrigerate them in a sealed container, and pop them into the air fryer when you’re ready. This prep step saves precious minutes on a hectic weekday and ensures you’re never stuck with a bland dinner.
Creative Twists and Variations
This recipe is a playground. Here are some of my favorite ways to switch things up:
Spicy Sriracha Rissoles
Swap the honey‑mustard glaze for a spicy sriracha mayo. Add a pinch of smoked paprika to the chicken mixture for an extra kick. This variation is perfect for those who love heat and want a bold, fiery flavor profile.
Mediterranean Herb Rissoles
Add chopped oregano, basil, and a splash of olive oil to the chicken before coating. Finish with a drizzle of tzatziki sauce instead of honey‑mustard. These rissoles pair wonderfully with a cucumber‑tomato salad.
Cheesy Parmesan Crunch
Mix grated Parmesan into the breadcrumb coating. Sprinkle extra cheese on top before air‑frying for a gooey, melty finish. The Parmesan adds depth and a savory richness that elevates the dish.
Asian‑Inspired Teriyaki Rissoles
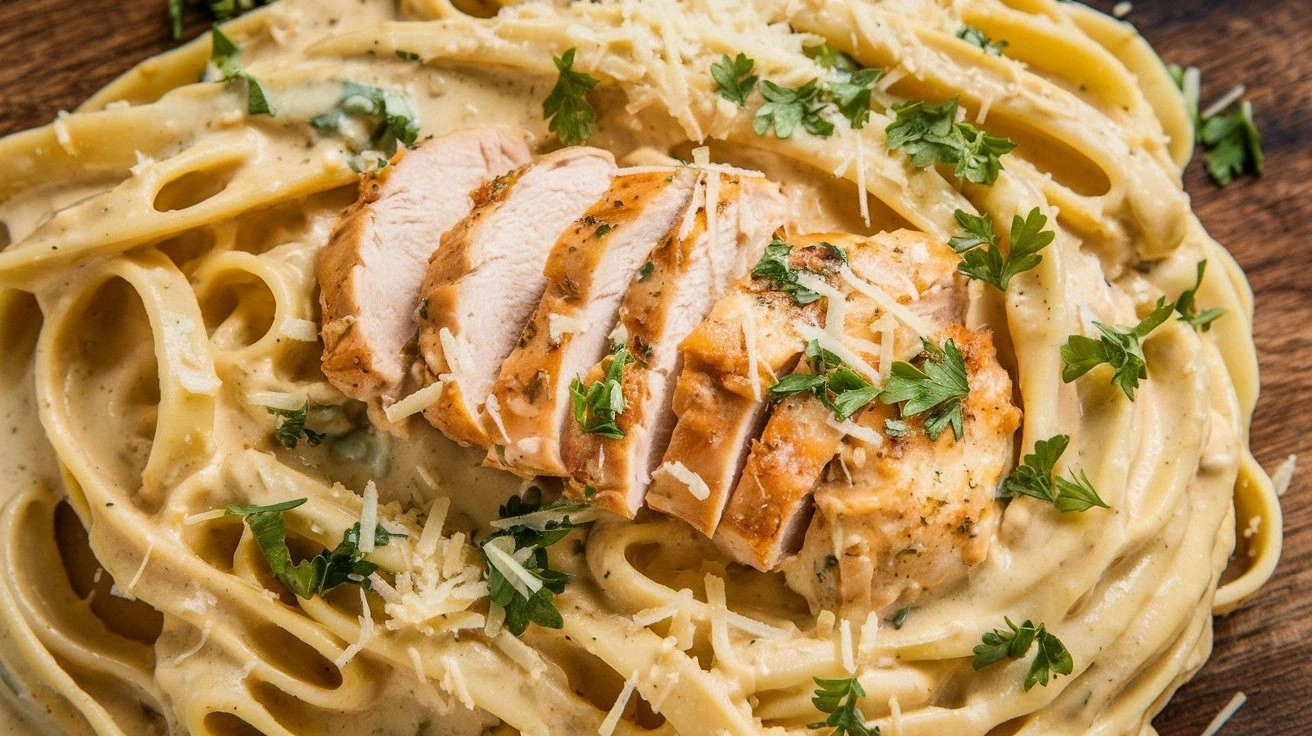
Marinate the chicken in a mixture of soy sauce, ginger, and garlic for 30 minutes. Use a teriyaki glaze instead of honey‑mustard. Serve over steamed rice for a complete meal that feels like a restaurant dish.
Vegan Chickpea Rissoles
Replace the chicken with mashed chickpeas, add nutritional yeast for a cheesy flavor, and use a vegan mustard glaze. This plant‑based version is hearty, flavorful, and surprisingly filling.
Breakfast‑Style Egg‑Rissoles
Add a beaten egg to the breadcrumb mixture to bind everything together. Serve with a side of sautéed spinach and a poached egg on top for a protein‑rich breakfast that feels indulgent.
Storing and Bringing It Back to Life
Fridge Storage
Store cooked rissoles in an airtight container for up to 3 days. Keep them in the fridge at 40°F (4°C) and reheat in the air fryer at 350°F (175°C) for 5 minutes to restore crispness. The glaze may thicken slightly, but a quick stir will loosen it.
Freezer Friendly
Freeze the rissoles in a single layer on a baking sheet before transferring to a freezer bag. They’ll stay fresh for up to 2 months. Thaw overnight in the fridge, then reheat in the air fryer at 350°F (175°C) for 7 minutes. Add a splash of water to the basket to keep them moist.
Best Reheating Method
Reheating in the air fryer is the gold standard; it preserves the crunch and prevents the glaze from becoming soggy. If you’re short on time, a quick 30‑second burst in a toaster oven at 400°F (200°C) works too. Remember to let them rest for a minute after reheating to let the juices settle.